Farm to Table Apple Crisp
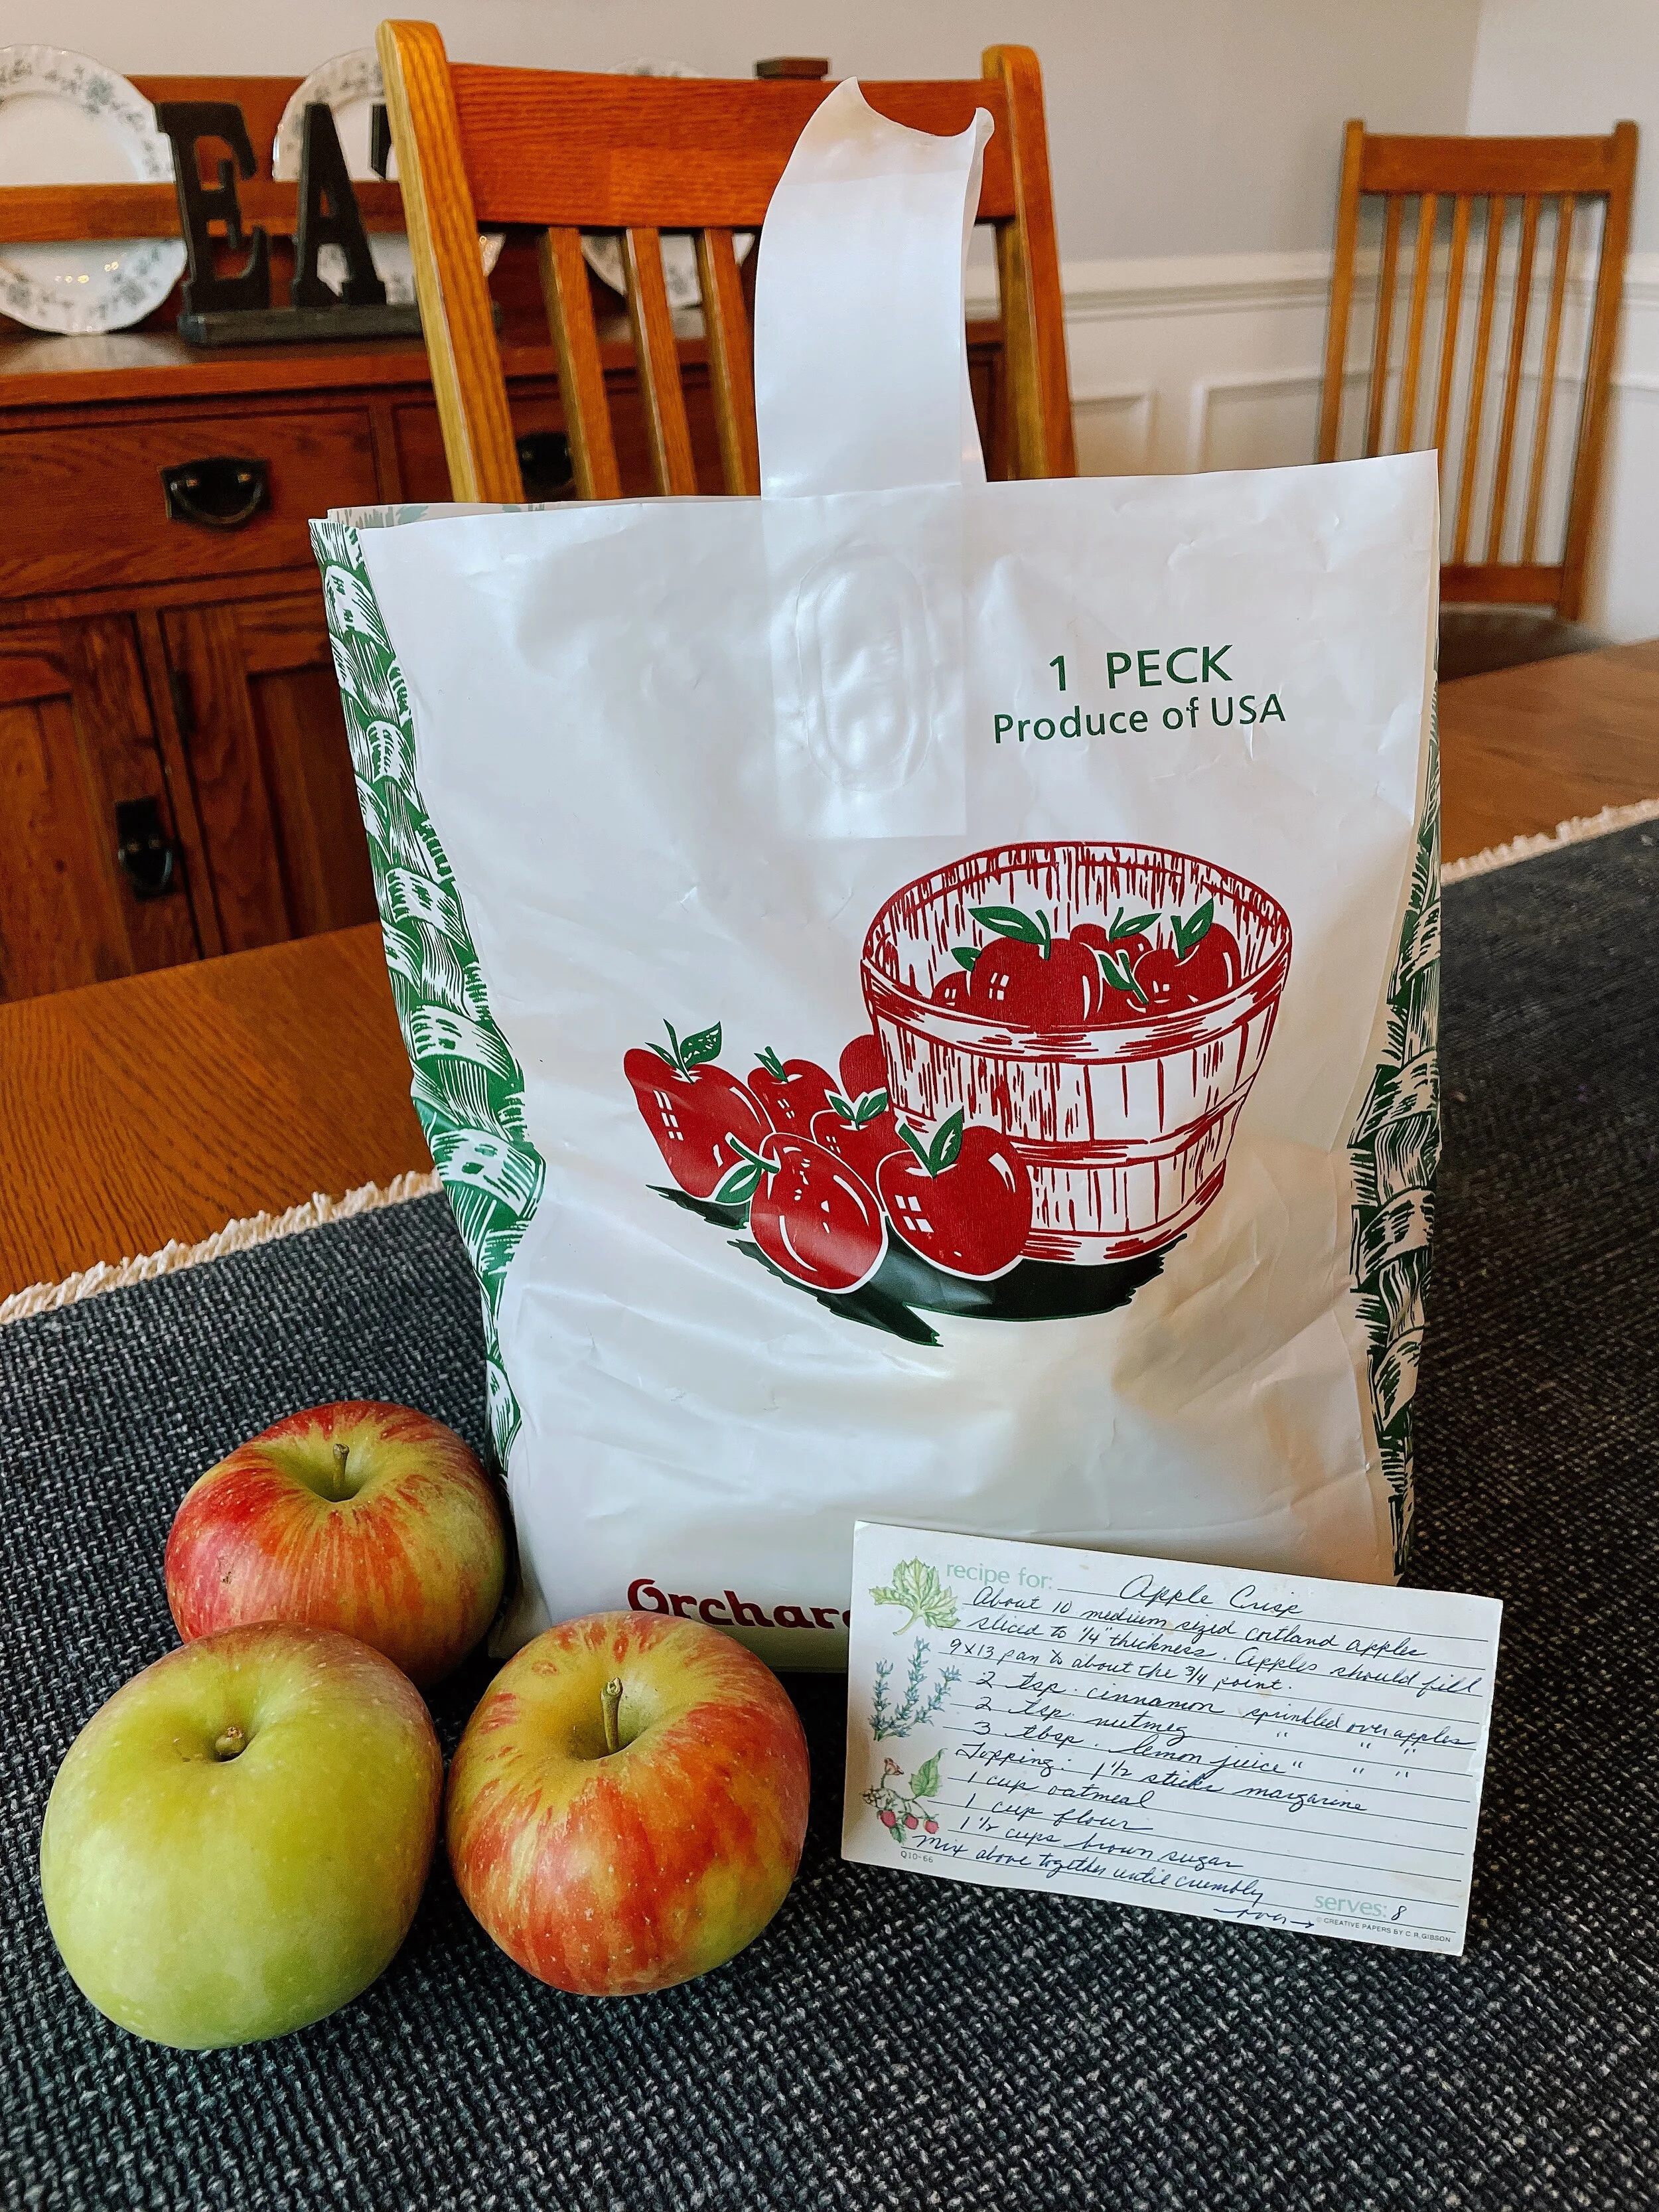
One of my all-time favorite fall treats is apple crisp, especially when it is made with fresh apples from our local orchard. This past weekend, my family took a trip to our local apple orchard where we picked fresh apples to bring home for baking some cozy fall treats. The recipe I am using is from my grandmother and is a recipe my family has been using for apple crisp for as long as I can remember.
I may be a little biased, but I truly do believe this is my favorite apple crisp recipe that I have ever made, and I will continue to make it this way because it is just that good. It is also incredibly simple, as I think most apple crisps are, but something about it is just so much more warm, cozy, and delicious than any other apple crisp. And with that, let’s make it!
To start, you will need some apples. These can be fresh, like the ones I have here, or from the store. Either way, you will end up with a delicious apple crisp! The recipe calls for about 10 medium-sized Cortland apples, but I have made this recipe with other types of apples, like the Honeycrisp that I am using here, and it has turned out just fine. I have also found that the amount you use can vary greatly depending on the size of your apples. I’ll explain it more below, but as noted in the recipe, the apples should fill a 9x13 pan to about three-quarters of the way when they are sliced.
The first official step is to peel your apples. The skin of the apple breaks down when cooked and becomes very soft, but it also takes on a very unpleasant texture. Because of this, I would highly recommend taking the time to peel your apples. I know it can be very tedious and time-consuming, especially if, like me, you only have a hand peeler. However, I firmly believe that your apple crisp experience will benefit greatly from the removal of the skin.
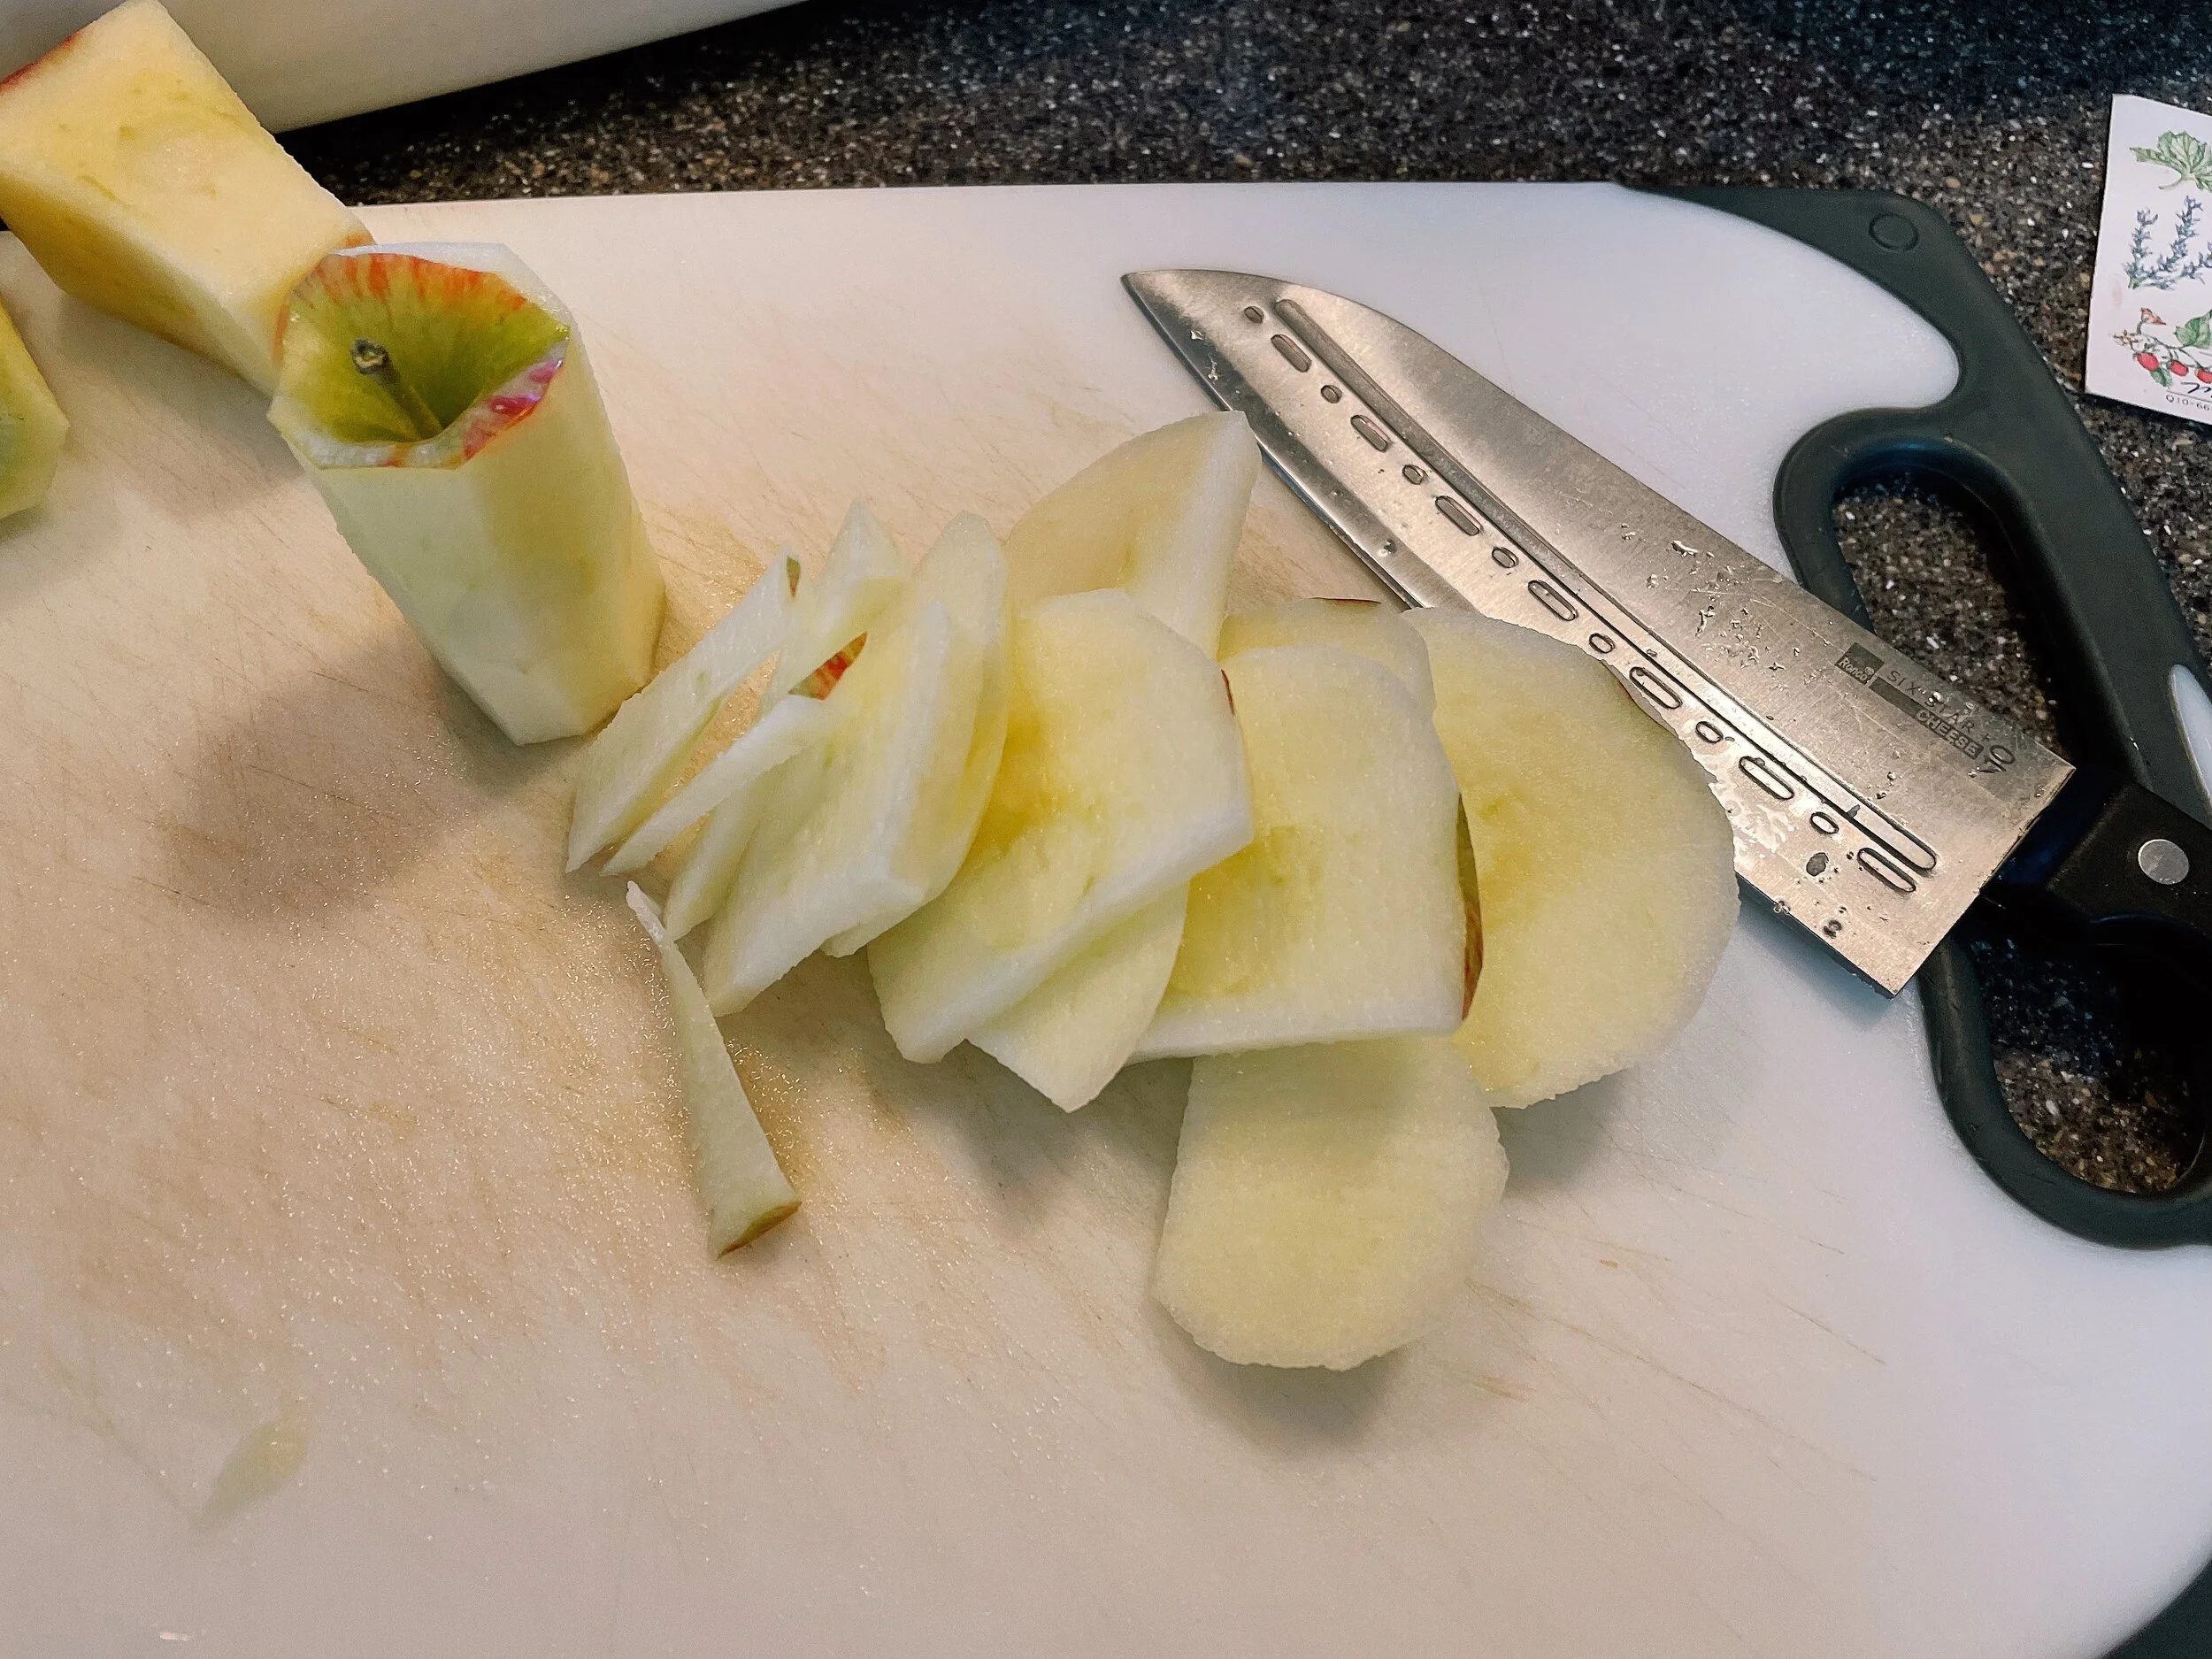
After you have peeled the skin, it is time to slice your apples. The recipe calls for your apples to be sliced to about a quarter of an inch in thickness, however, this is another time when I think there can be some variation. I do tend to keep my apples sliced very thin because I like the texture of the apples to become very soft and mush (for lack of a better word) together in the end. You lose the bite of the apple, but personally, I enjoy the soft, smooth texture that the crisp takes on when the apples are sliced thin. If you prefer your apples to still have a little bite to them, you can slice them thicker. I think it would be nice to have some very thin slices and some that are thick to create a variation in texture, but truly this is all up to you and your personal preference.
Once you have sliced your apples, you can either place them in a bowl to mix with the spices or mix them directly in the baking dish. Because I like to measure out the number of apples that I am using based on how much they fill the baking dish, I just leave my sliced apples in the dish and mix them there. It also saves you from dirtying another bowl, which is always nice come time for clean up. Either way, you will mix your apple slices with cinnamon, nutmeg, and lemon juice. The recipe does not state to mix the spices in, but that is what we have always done, and I think that mixing everything helps to disperse the flavors more evenly throughout the entire crisp.
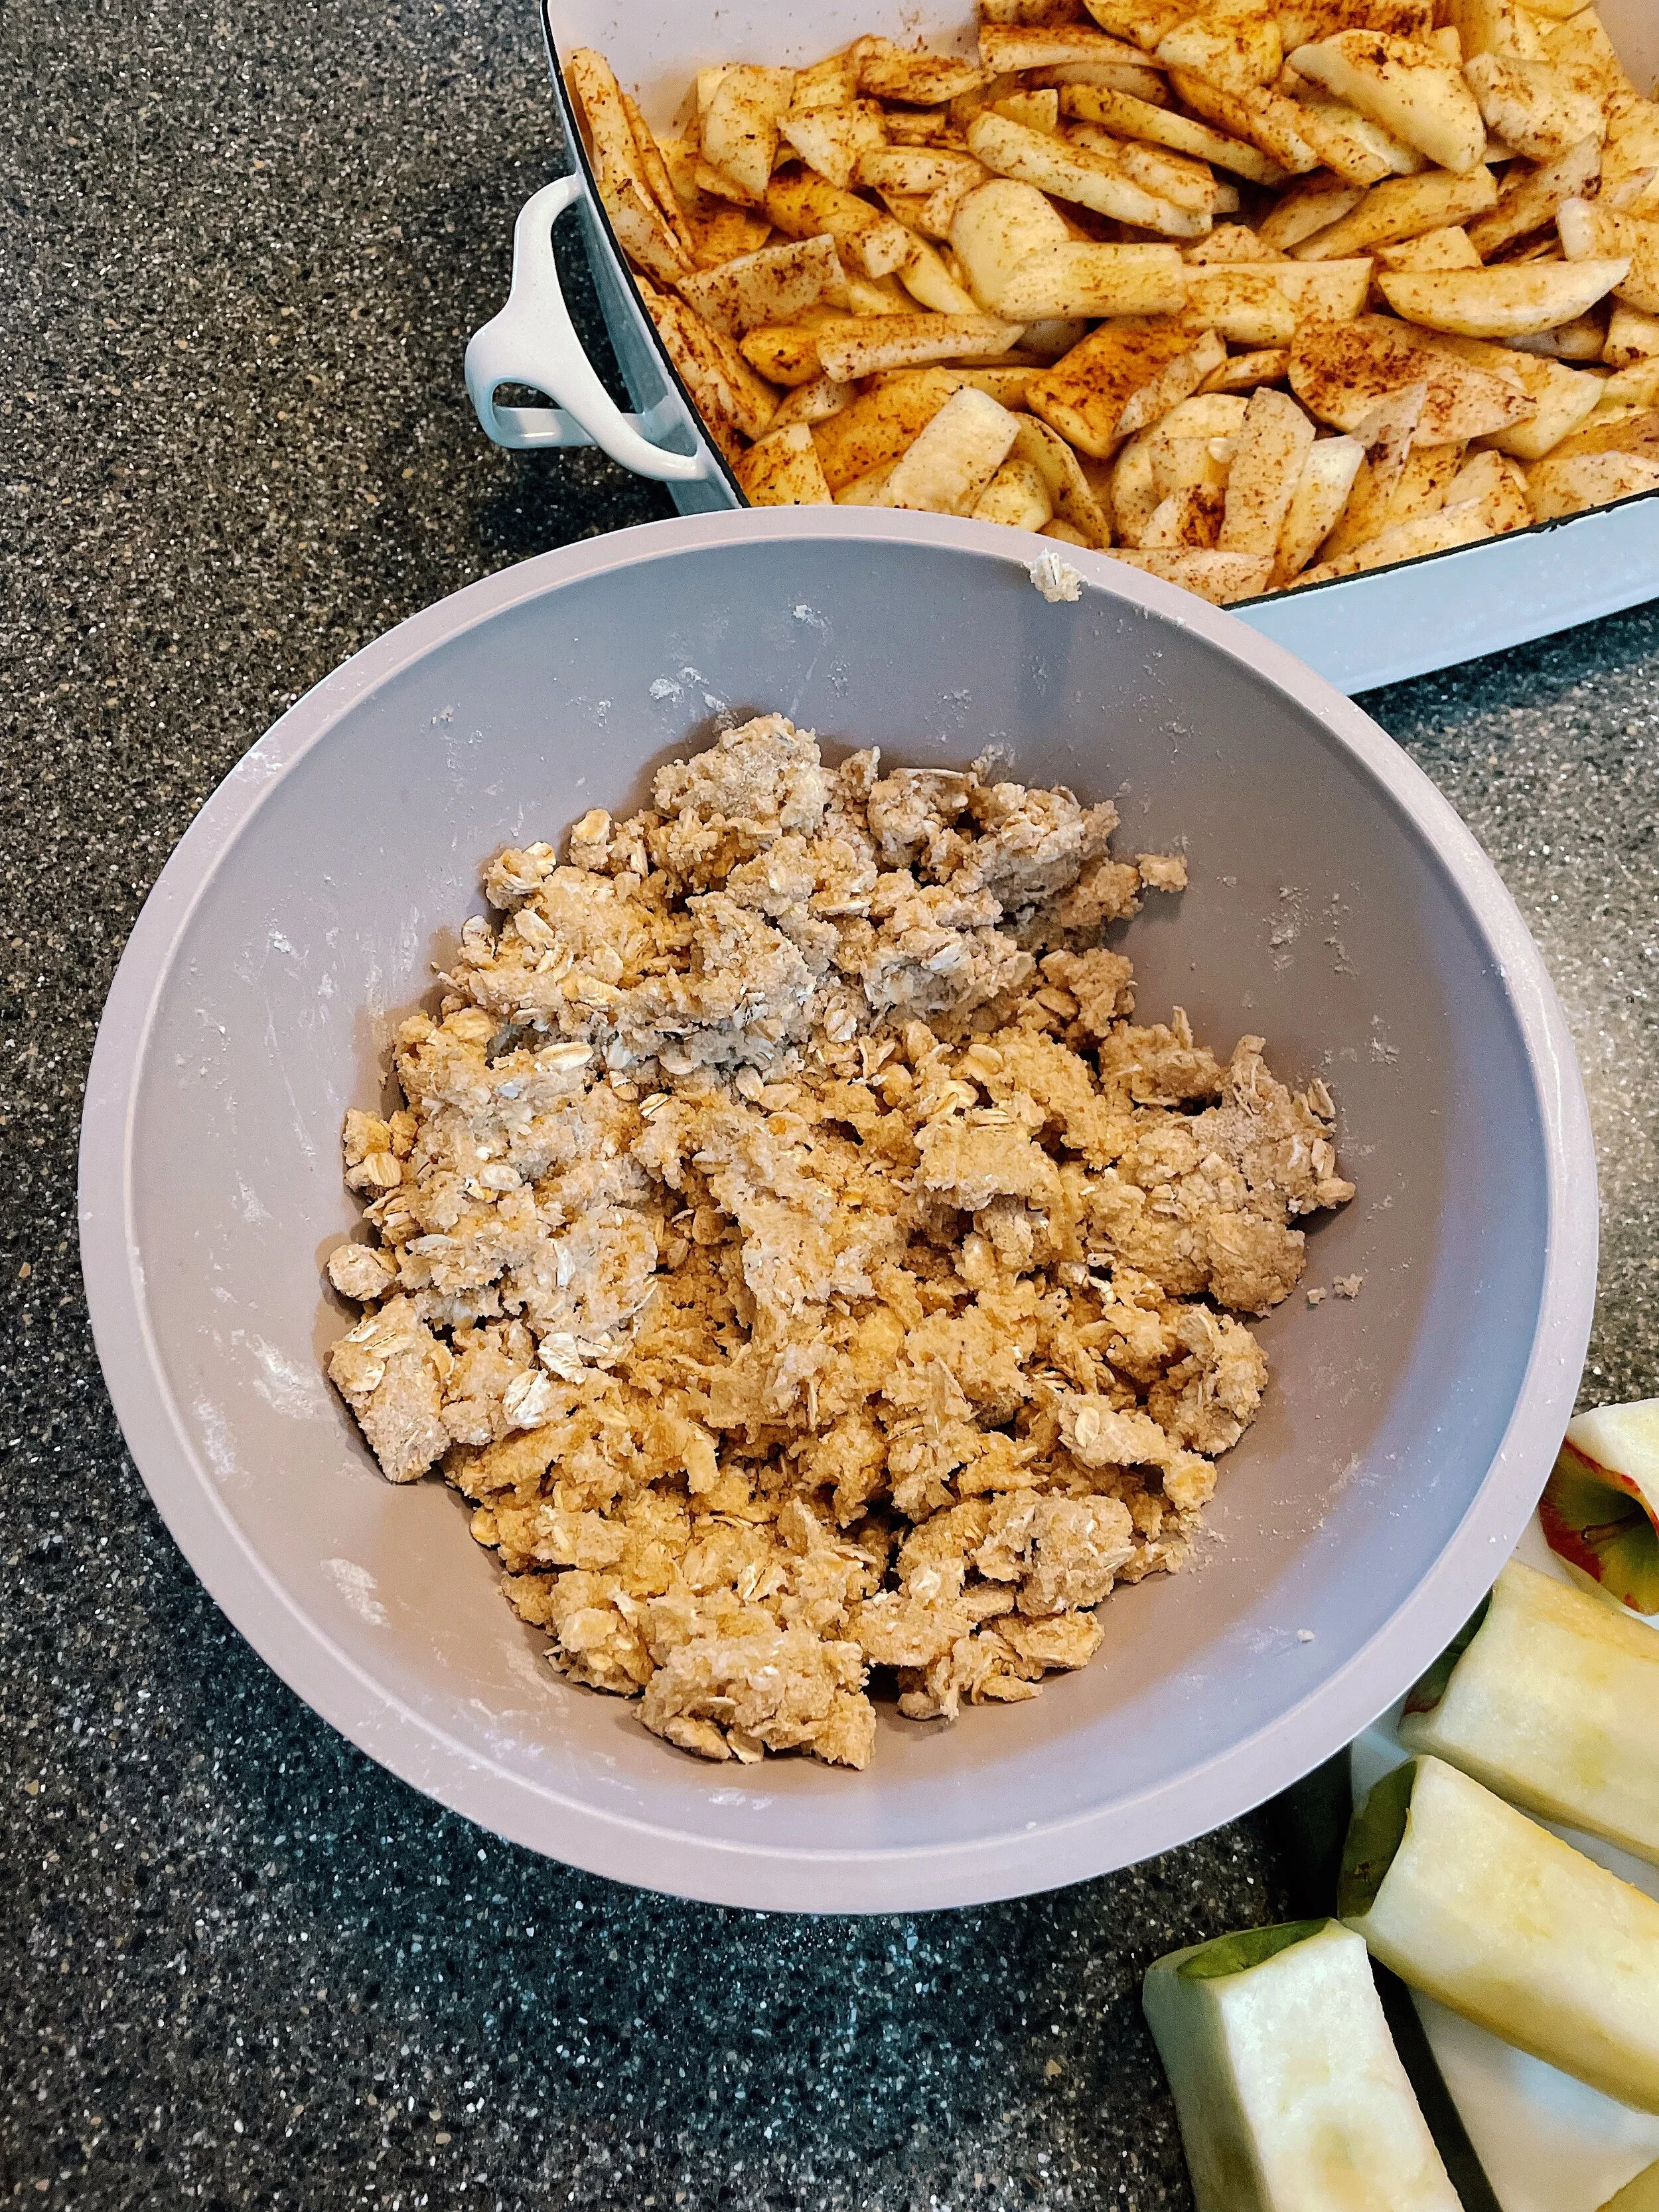
The only thing left to make is the topping, which is a combination of oats, flour, brown sugar, and butter or margarine. I always make the mistake of underestimating how much of these ingredients I will be mixing, and end up putting it all in a bowl that is way too small. I did that this time, but learned my lesson quickly as the ingredients were difficult to keep inside the bowl while I was trying to mix them. I then had to transfer the mix to a larger bowl, which is the one you see here. So the lesson here is, make sure your bowl is large enough!
Once you have combined these ingredients, they should all hold together in little clumps. I like to soften the butter slightly before mixing it in to make the process a bit easier. If you do this, make sure you do not melt it! You want the butter to be solid so that it can form the clusters. All you need to do now is sprinkle the mixture evenly over the top of the apples, then bake at 350 degrees for 45 minutes.
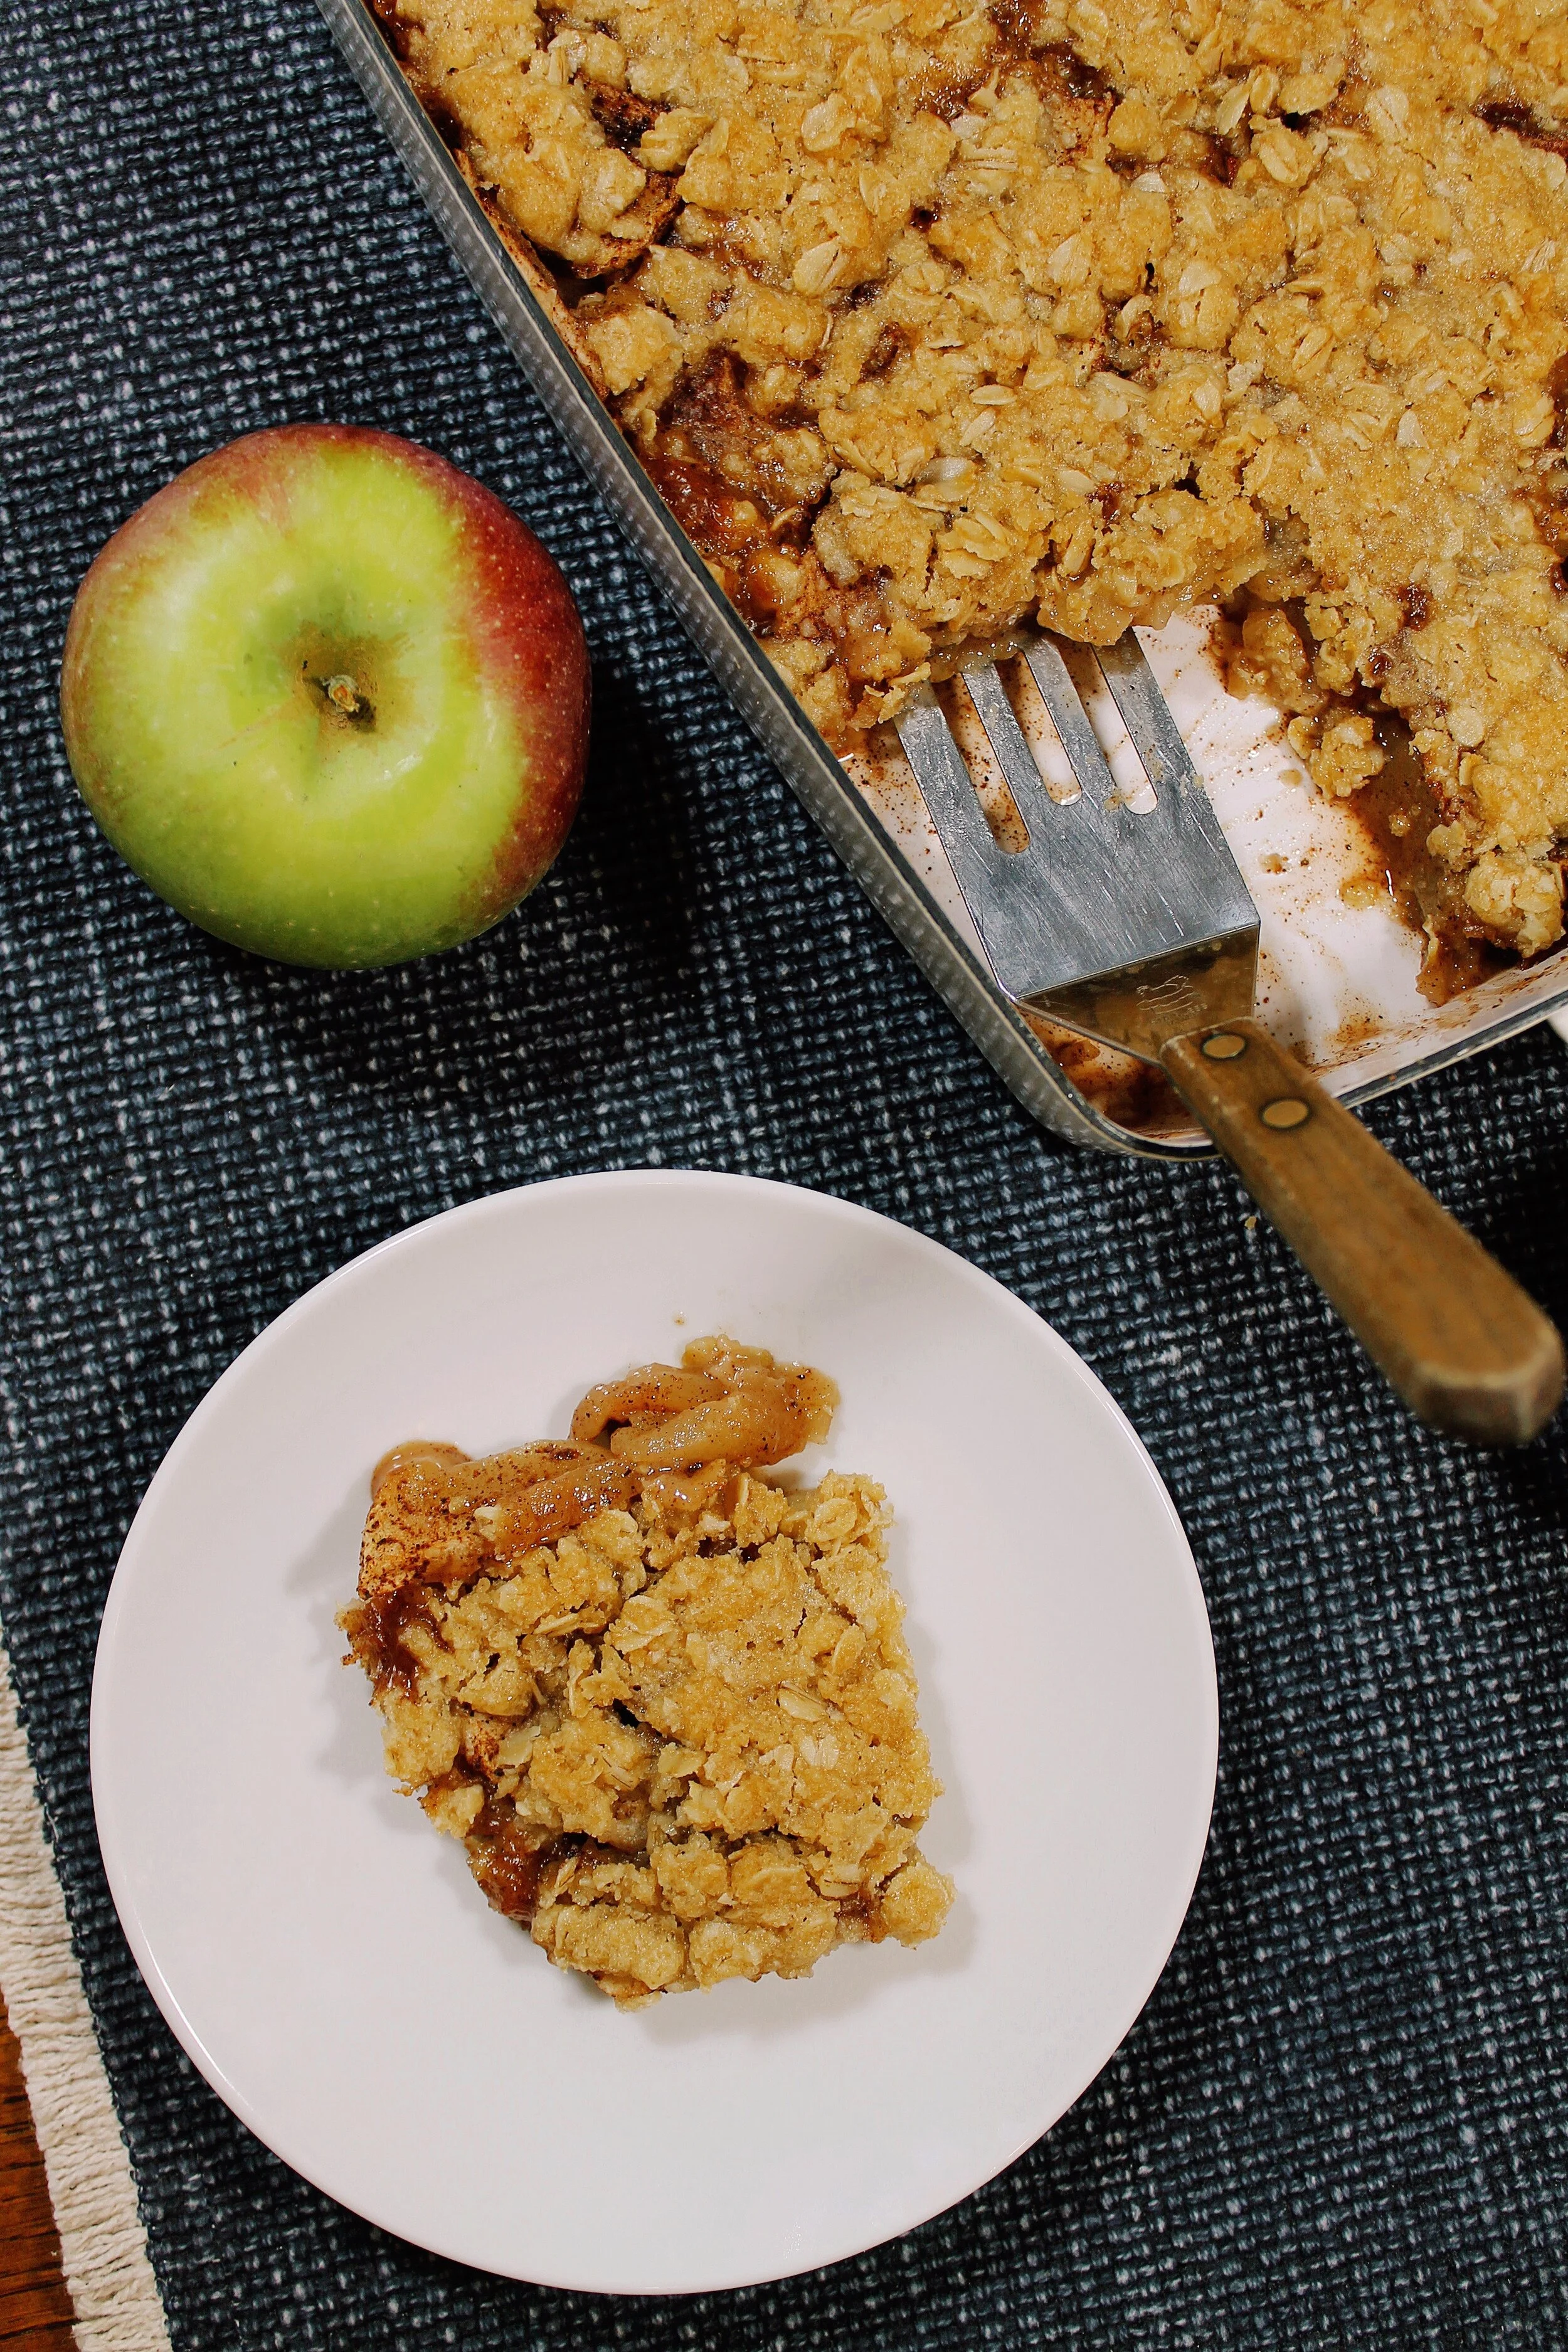
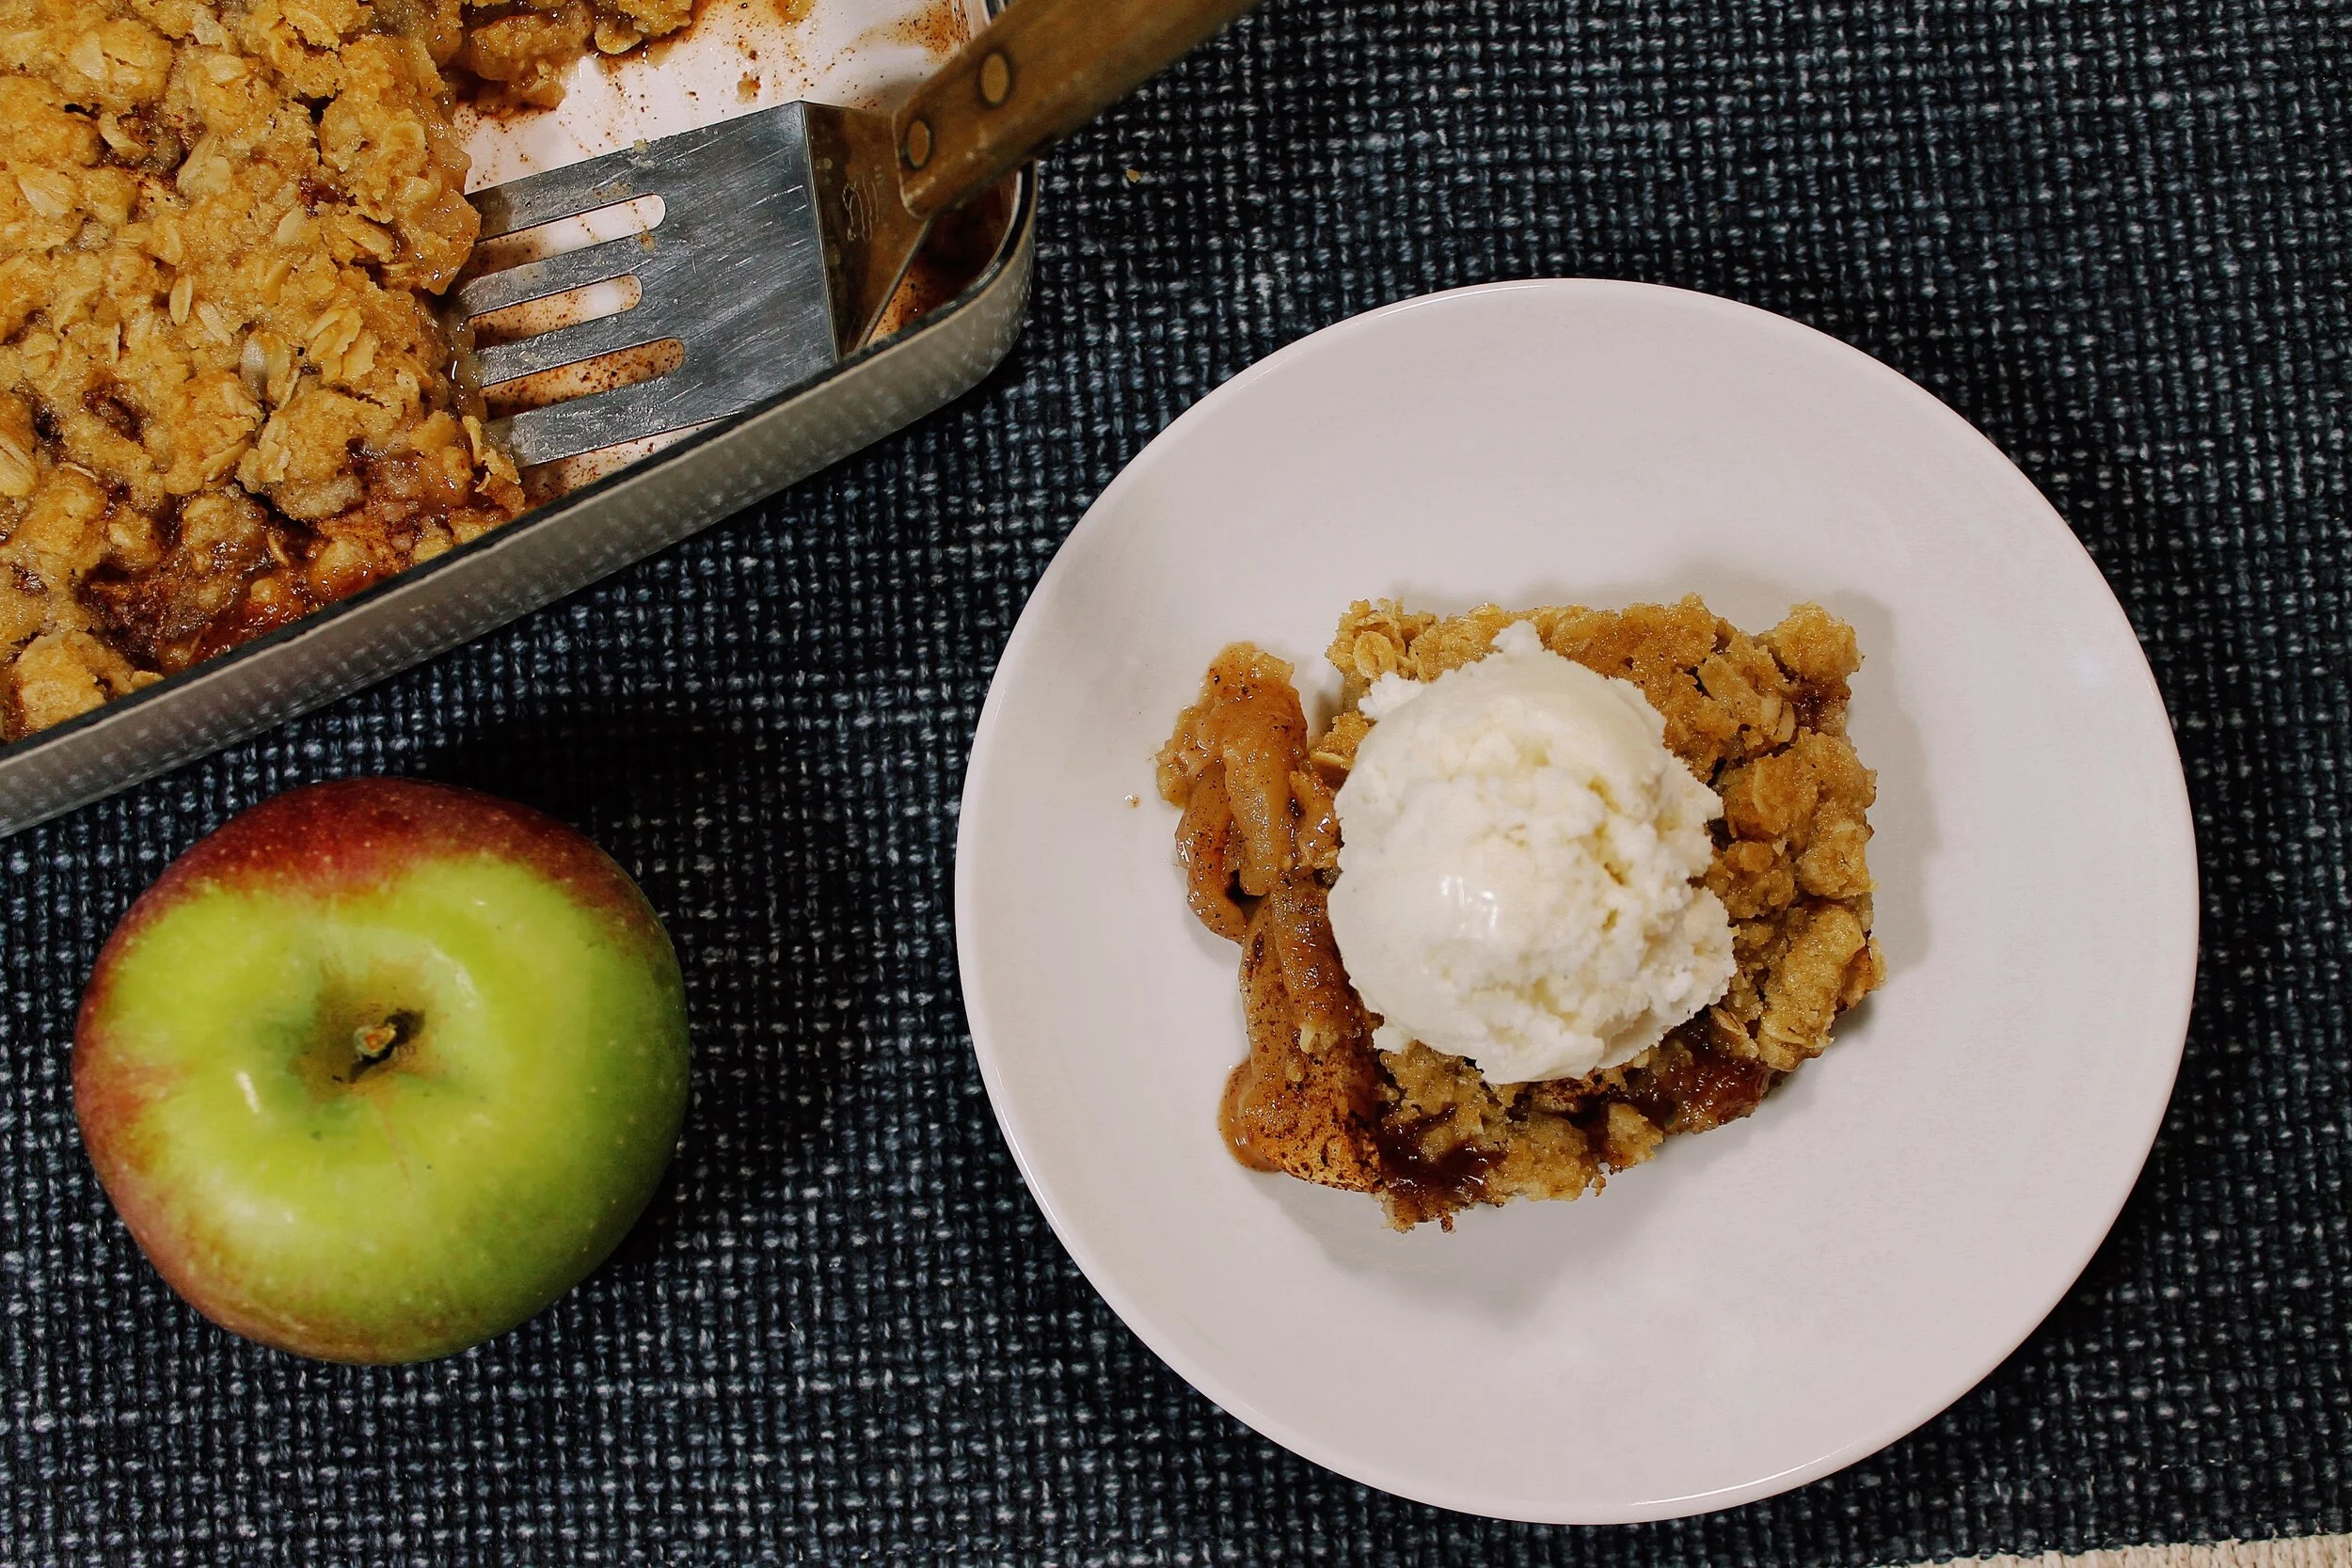
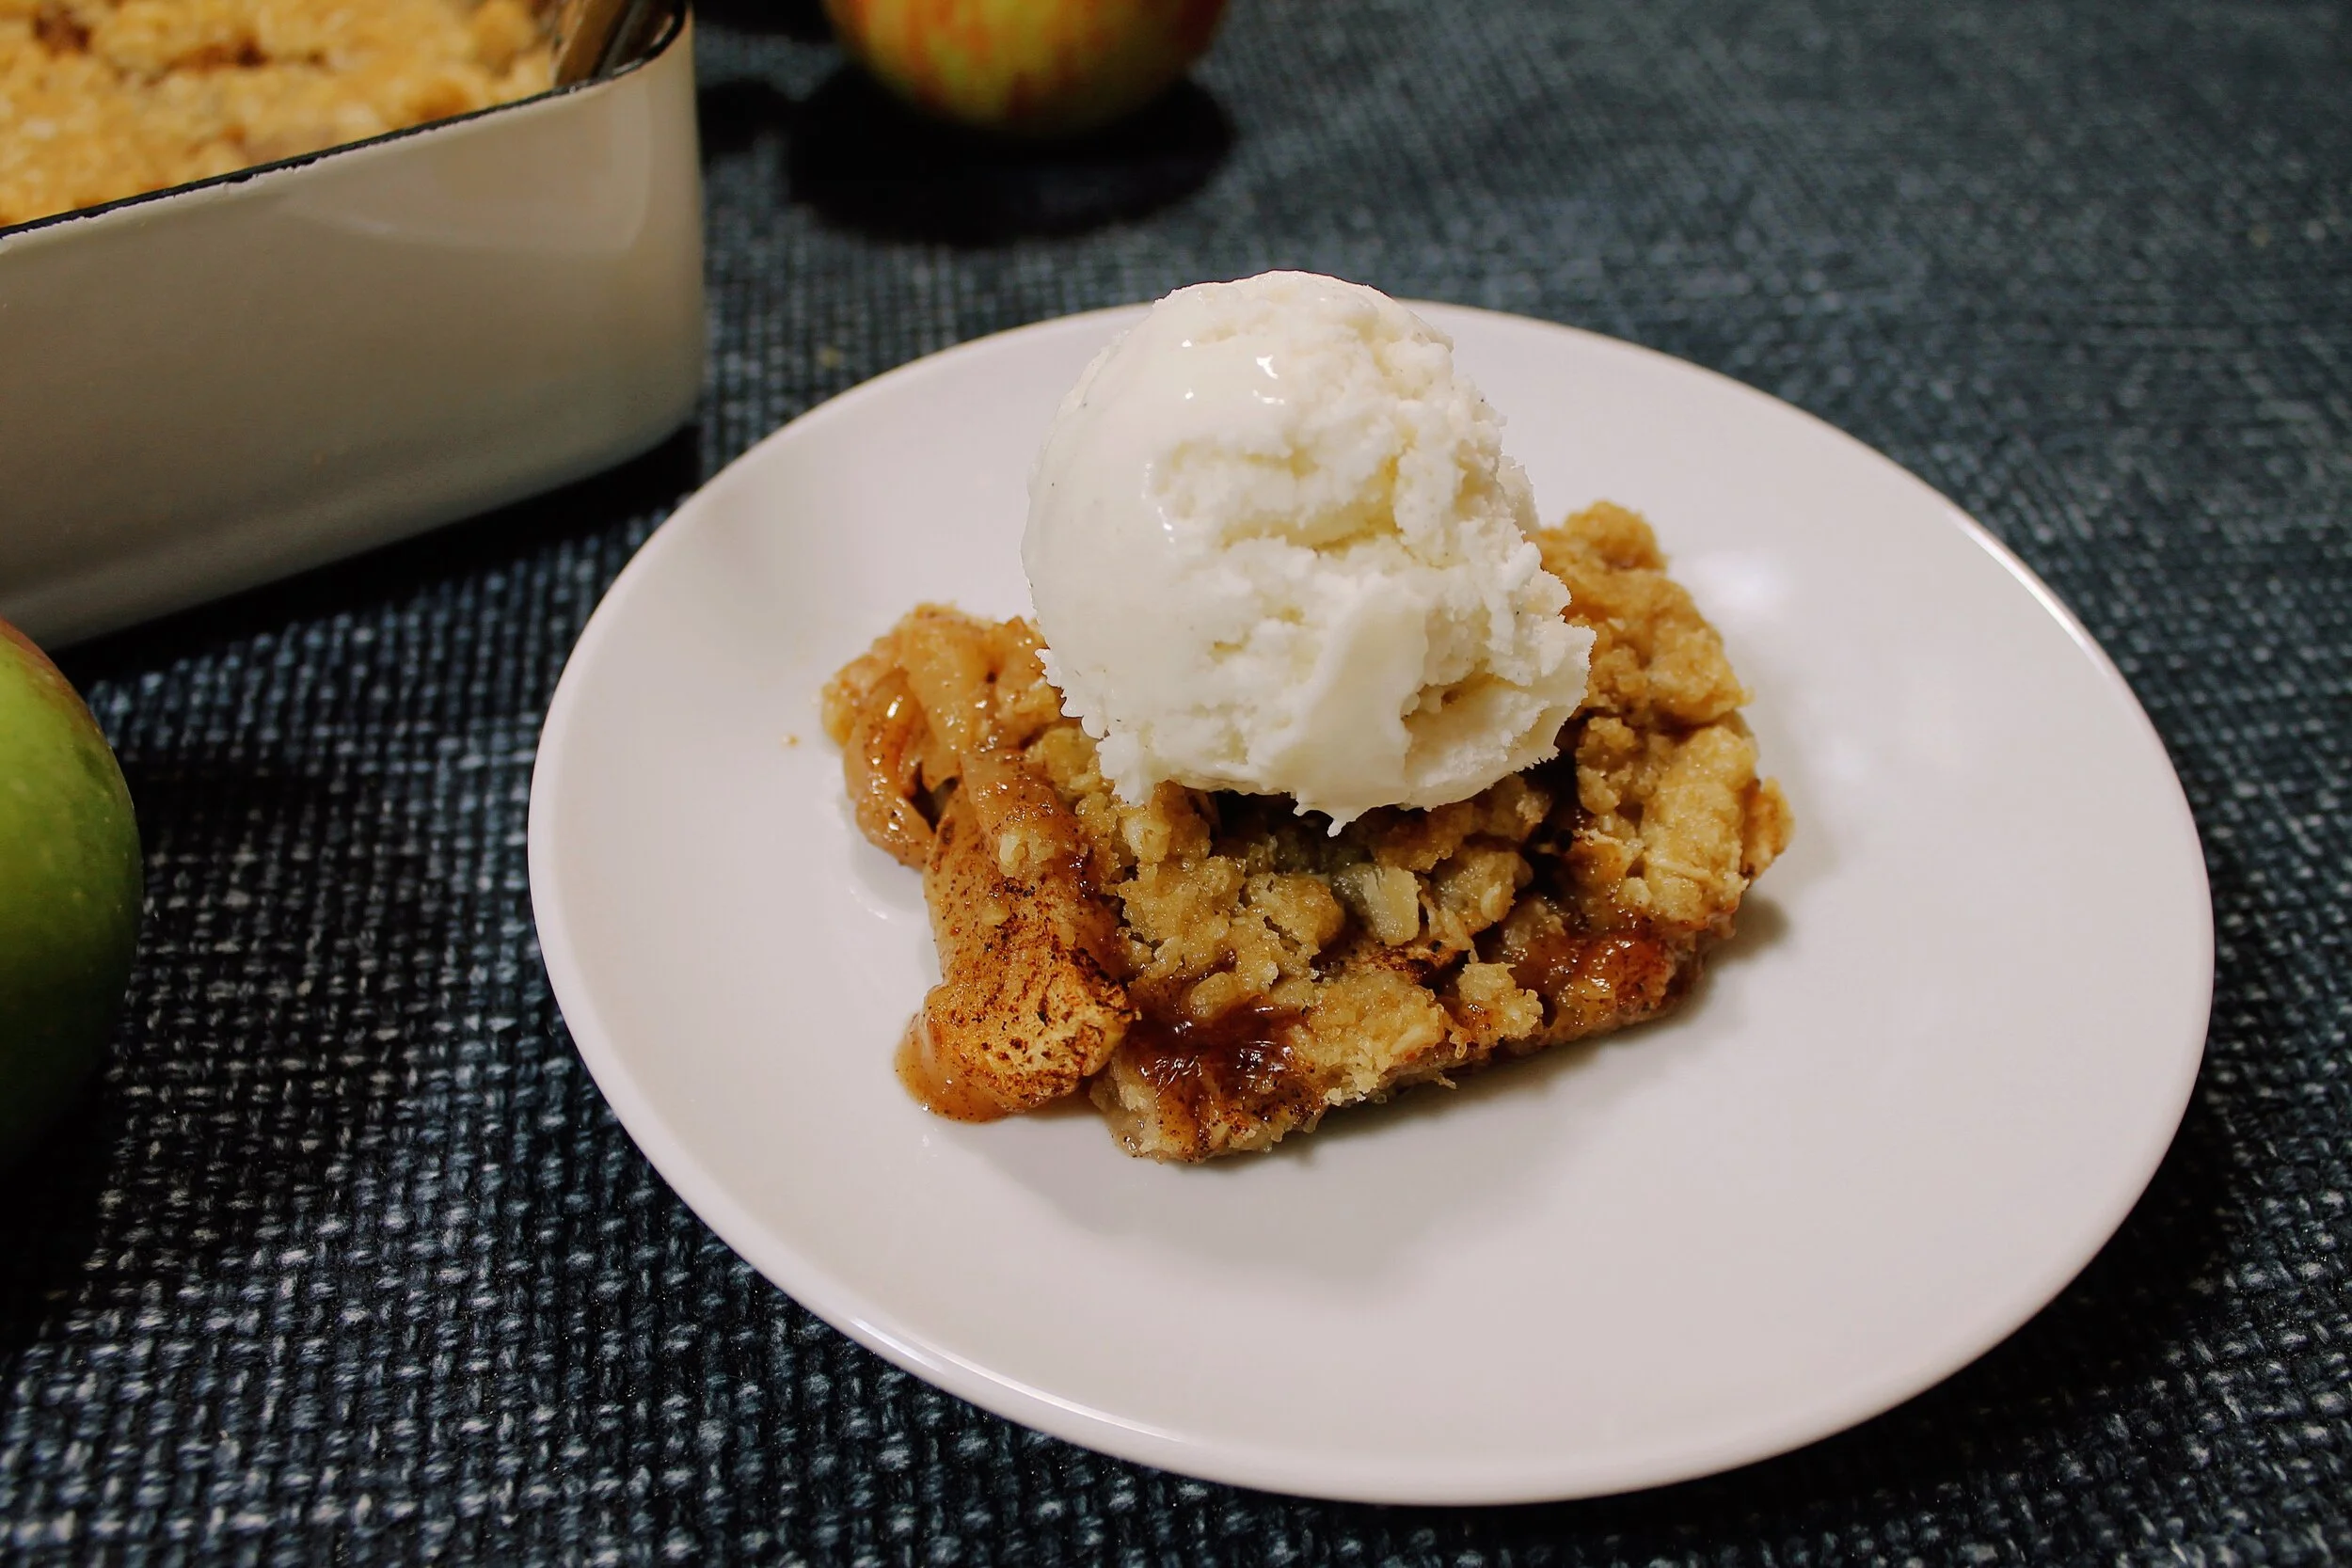
When your crisp is done, it should be a nice golden brown, and your house should smell amazing. I like to serve mine with a scoop of vanilla ice cream. I think this complements the warm spices nicely and adds a creaminess to the crunch of the topping and the softness of the apples.
The recipe will be included below. I hope you try this recipe and enjoy it as much as I do. I look forward to this apple crisp each year, and getting to share this recipe with others makes it even more special.
