Homemade Apricot Scones
Before this summer, I believed that I didn’t like apricots. I had only ever had dried apricots, which I found a bit unpleasant (usually I am not a huge fan of dried fruit, so this is not surprising). However, I should have thought a little more about apricots before completely discounting the possibility of enjoying them. When you think about it, other stone fruits like plums are the most delicious fruit when eaten fresh, but create a notoriously icky food when dried (of course that is a personal preference, I know many people love prunes!) I should have guessed that apricots would probably be the same. This past trip to the grocery store I spotted some fresh apricots while in the produce section and decided to pick some up. And what do you know - they were delicious! I am truly not a picky eater and am happy to try anything, and I am glad I decided to grab some apricots because they are definitely a tasty summer fruit.
One thing I love about scones is that they are such a simple, blank canvas for any flavor you want to incorporate. The base recipe for a scone usually includes plain flour, sugar, baking powder, butter, salt, and some sort of cream or milk. Beyond this, you are free to add in whatever you would like, whether that be fresh or dried fruit, different extracts like vanilla or almond extract, nuts, or seeds. You can even twist the recipe to make savory scones by incorporating cheese or herbs and spices. The possibilities are truly endless, and allow for so much freedom and creativity. I’ve seen some recipes that I am so excited to try for both savory and sweet scones, like corn, goat cheese, and chive scones, and hummingbird scones, which are a take on a hummingbird cake, which includes pineapple, walnuts, and banana.
I love baking year round and enjoy incorporating seasonal foods into the treats I create. Recently I have been loving making scones, having most recently made lemon blueberry scones using fresh blueberries that I picked at a local farm. Those were great, and now I am on a scone-kick. They’re such an easy baked good to make that doesn’t require you to put in a lot of time or effort, but they turn out so great that it makes everyone think that you did! Although all of this talk has been about fresh apricots, the recipe I chose to follow, which will be linked below, called for dried apricots. Although I wouldn’t normally eat dried fruit on its own, I do love dried fruit in things like cookies and cakes. I ran to the store to pick up the last few ingredients that I needed, and then I began baking.
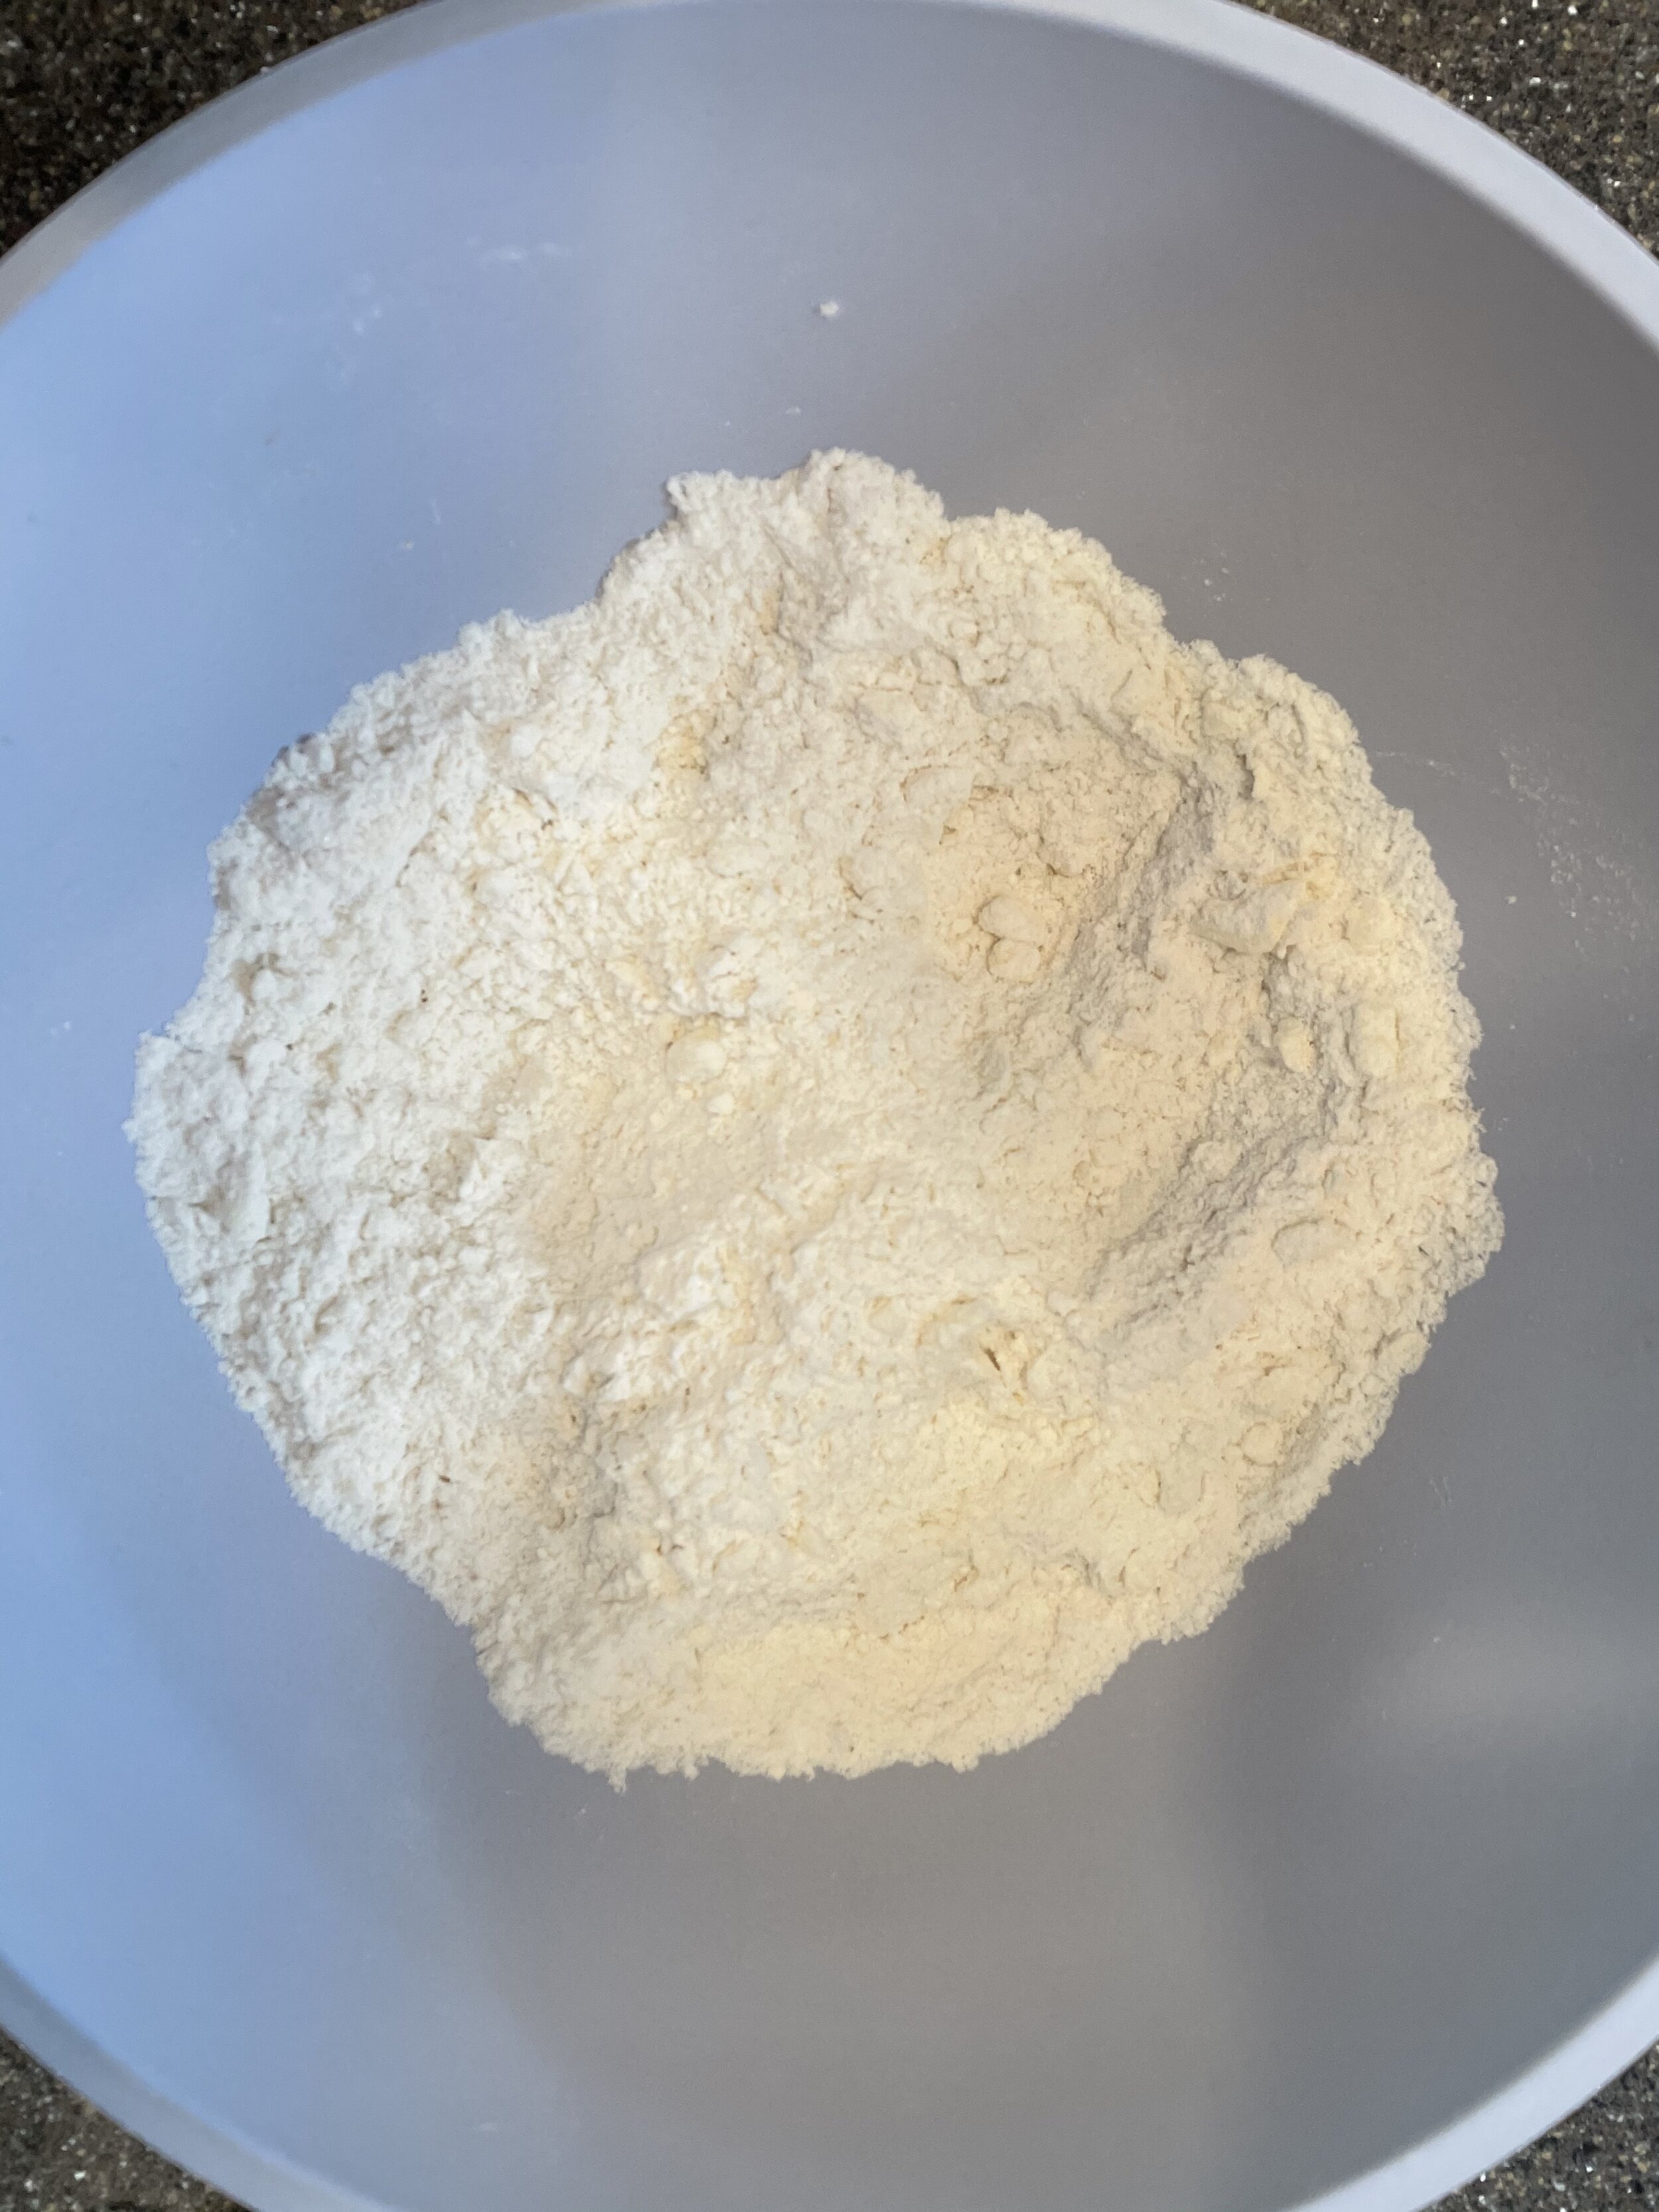
The recipe I used is from Tea Time Magazine and is linked here. It is a pretty classic scone recipe with the addition of the dried apricots. I combined all of the dried ingredients in a large bowl, then cut in the cold butter with two forks until the mixture looked like coarse sand.
After this, I mixed in the chopped dried apricots. In a separate bowl, I combined the wet ingredients, then poured the wet ingredients into the dry. I stirred the two together with a fork until the mixture began to come together and form a dough. It took an extra tablespoon of heavy cream to help to bring the mixture together, and when it was in a rough ball of dough, I turned it out onto a lightly floured baking sheet to begin kneading. When I had completed kneading the dough, it finally formed a uniform ball that was no longer overly-sticky in texture.
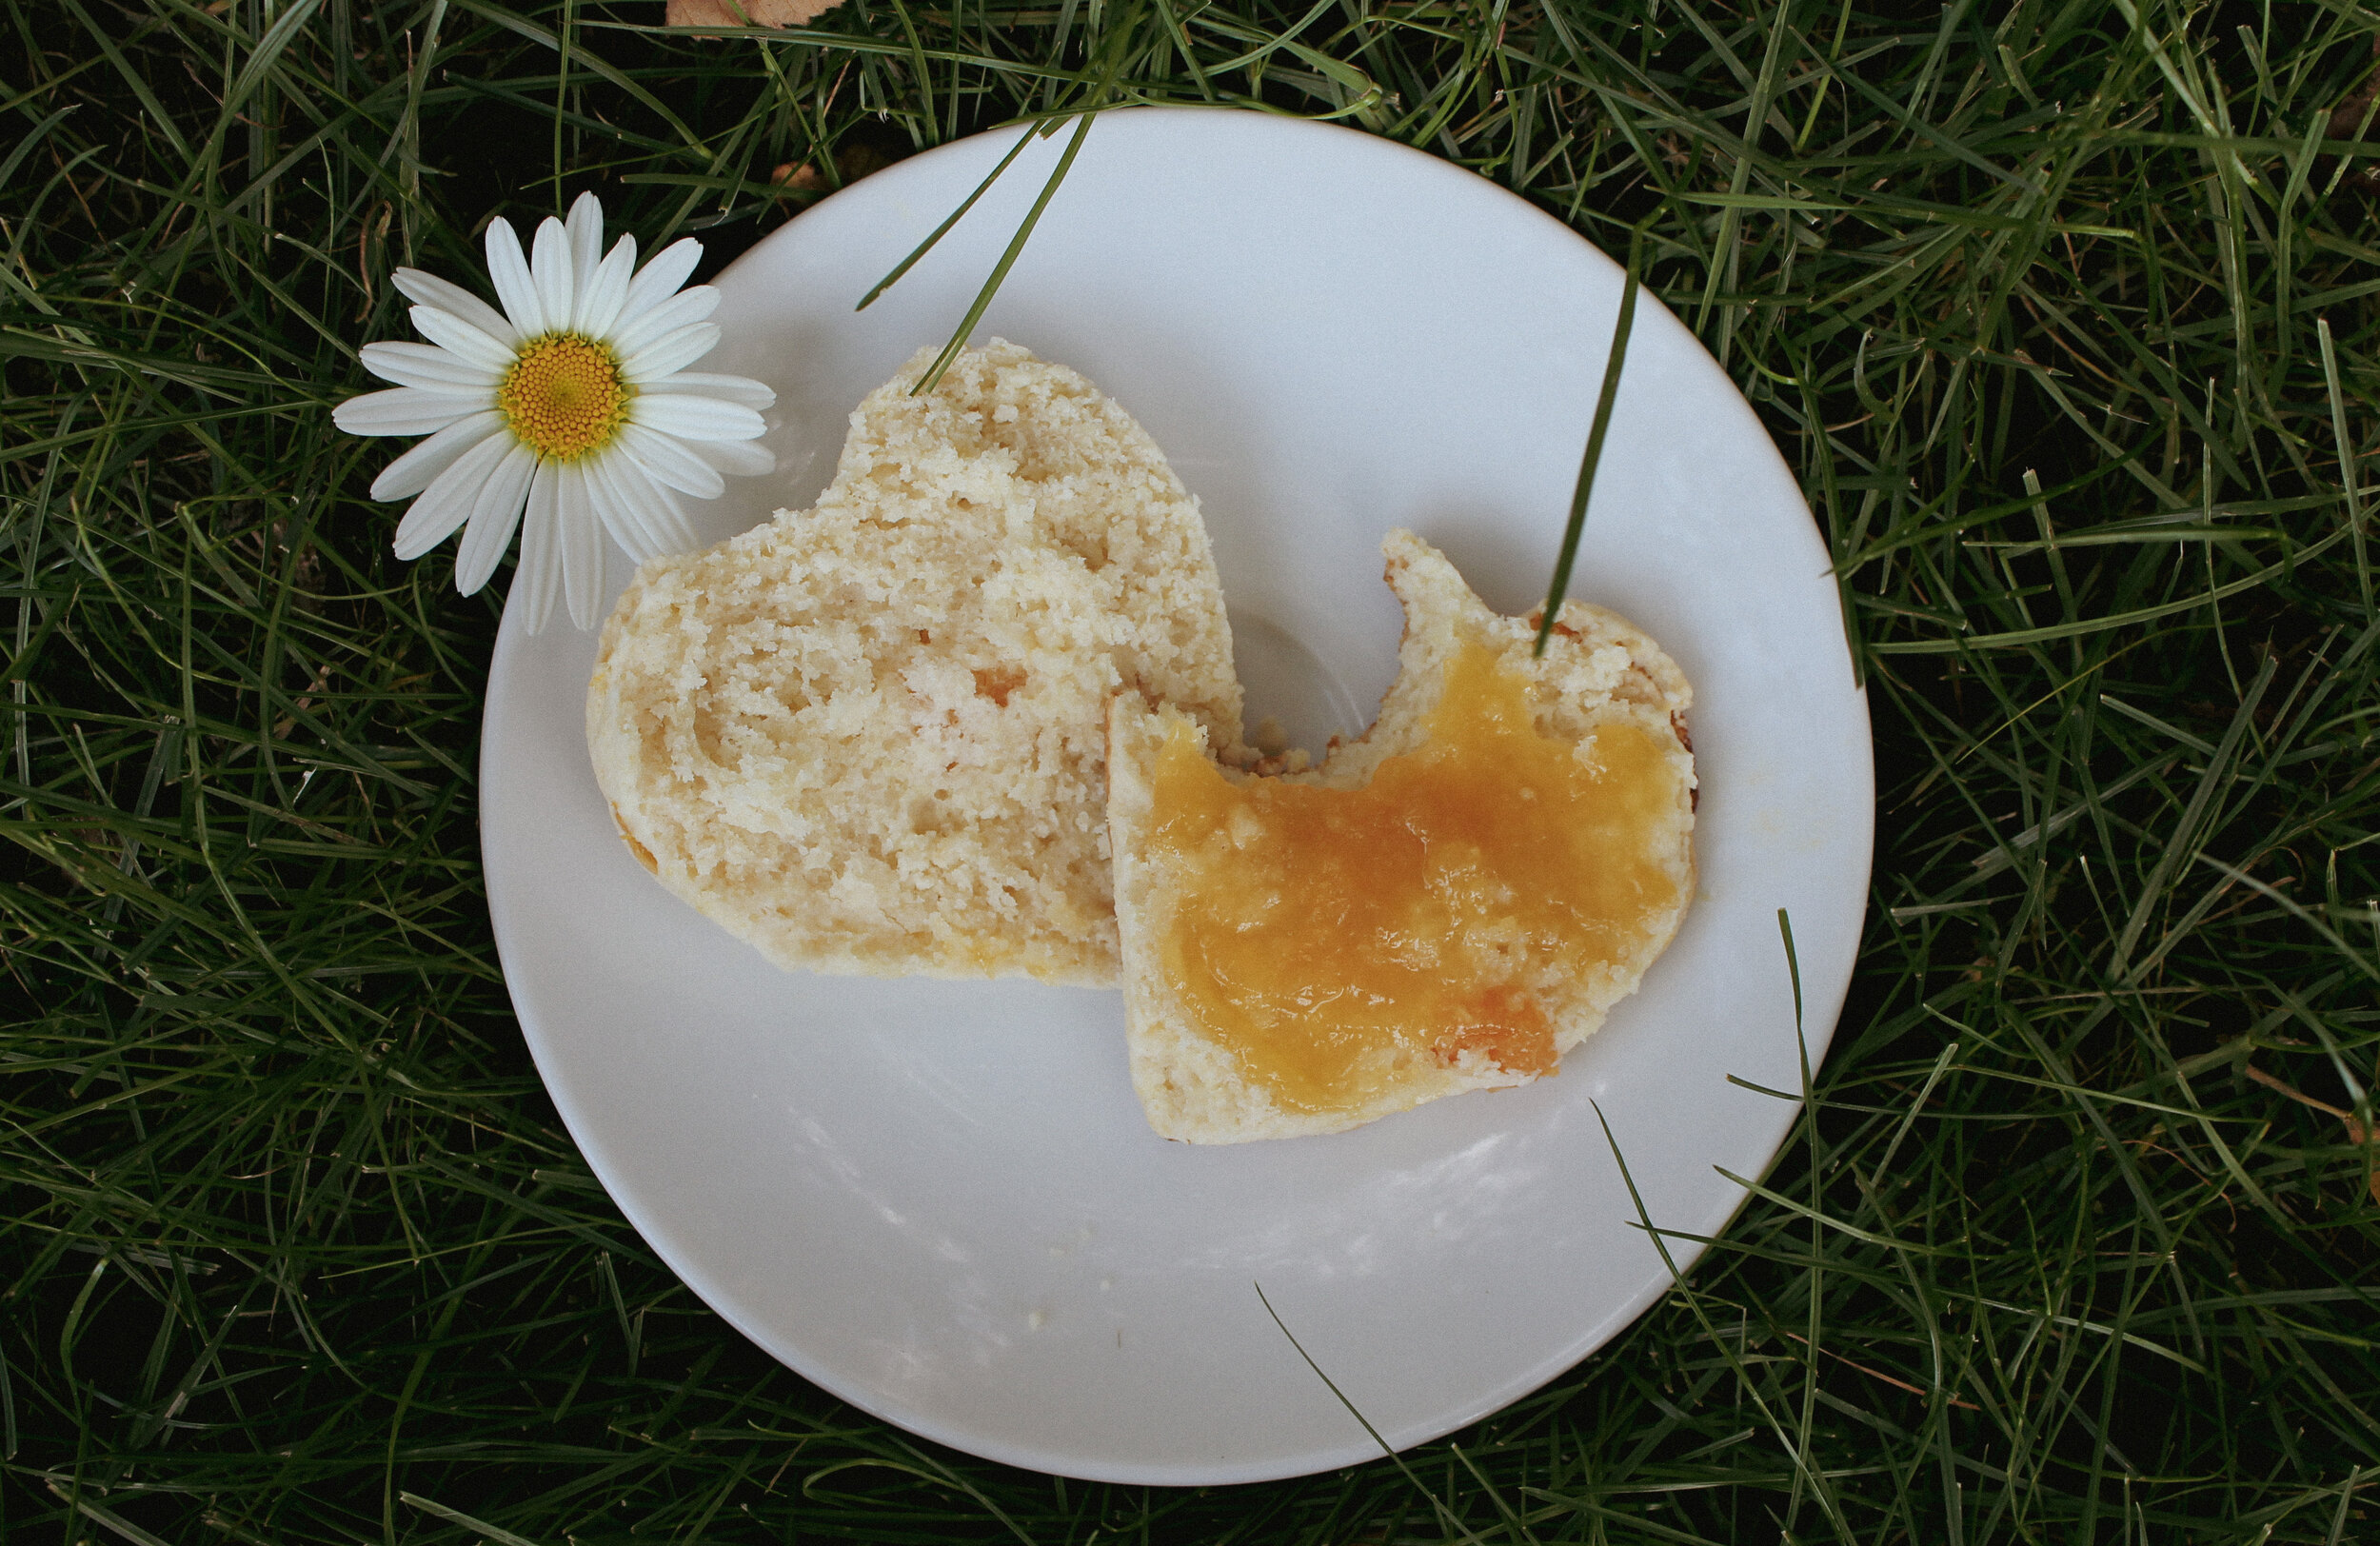
I then rolled the dough out into a sheet that was about 1/2 to 3/4 of an inch thick. The recipe called for the use of a fluted round cutter, but I did not have this exact tool, so I just used what I had on hand. In my case, I used a heart shaped cookie cutter and a measuring cup. The recipe says you should get about 16 scones, but I think because my cutting tools were much larger I was only able to get 8. When the scones were all cut into shape, I spaced them out on a parchment paper (partially, at least! I ran out of parchment paper, but the ones on the tray ended up baking just fine without it) lined baking tray and brushed the tops with a little heavy cream.
The scones baked for about 16 minutes until the bottoms were golden and they looked nice and fluffy. When they were done I removed them from the oven and let them cool for a few minutes, but as the recipe says, they’re definitely best served warm!


Pour yourself a cup of tea and smother the scones in some lemon curd and you are good to go! I can’t wait to try more scone recipes, and will be sure to share when I do.


